A quick guide on how to configure IIS for FTP on an Azure VM.
Azure
Once you have a new server created you’ll need to open ports to allow FTP access to the VM. You can do this by creating an endpoint for each port for the server via portal.azure.com, manage.windowsazure.com, or via the azure command line.
Note the IP address of the server for later.
- FTP Port: 21
- FTP Passive Data Ports: 20000-20005, I used this range but you could use more or less.
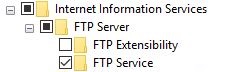
Install FTP Service

Configuring IIS
Firewall via IIS
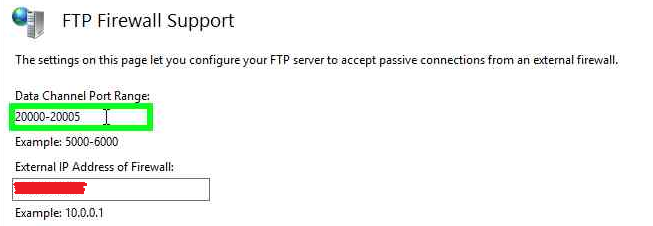 Specify a passive port range, the same range you opened on azure.
Include your firewall Ip, this is to make sure that passive connections route properly. Otherwise you might end up with an error like this:
Specify a passive port range, the same range you opened on azure.
Include your firewall Ip, this is to make sure that passive connections route properly. Otherwise you might end up with an error like this:
227 Entering Passive Mode (172,19,0,4,78,32).
Status:	Server sent passive reply with unroutable address. Using server address instead.
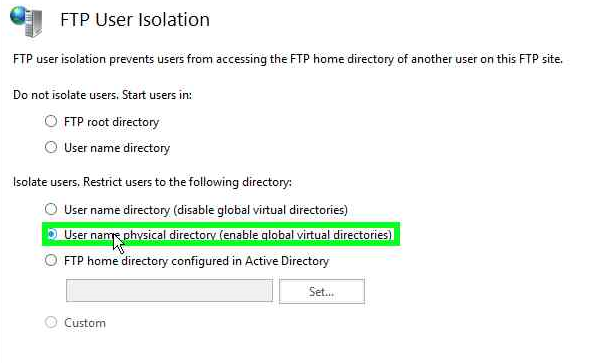
FTP User Isolation
This is the setting I decided to go with, there’s a good explanation of how each of these work in the microsoft documentation.
Setting up the FTP Site, users, and directories
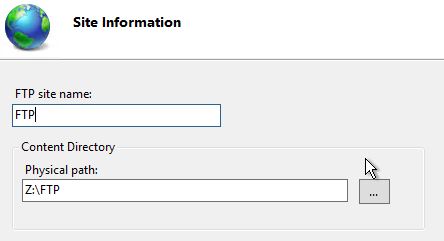
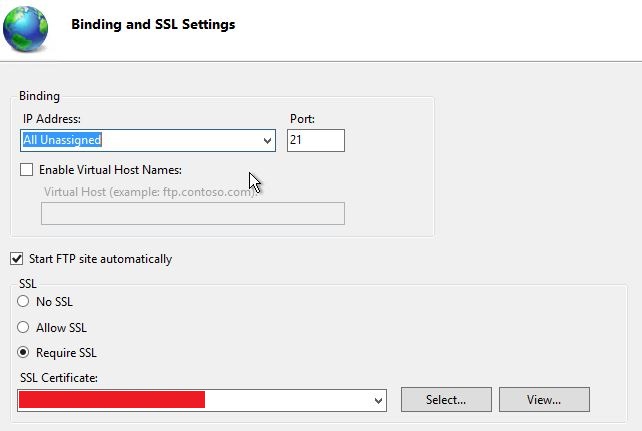
FTP Site
This is per host/name that you want to use. In my case I only needed one of these.

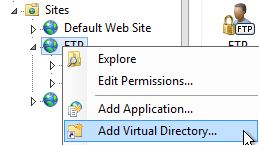
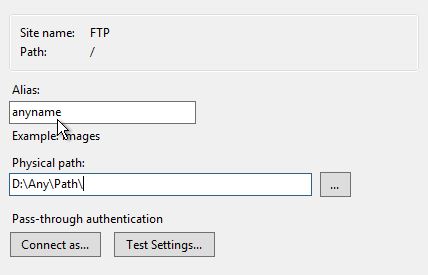
Add Virtual Directory
User Restrict the Directory
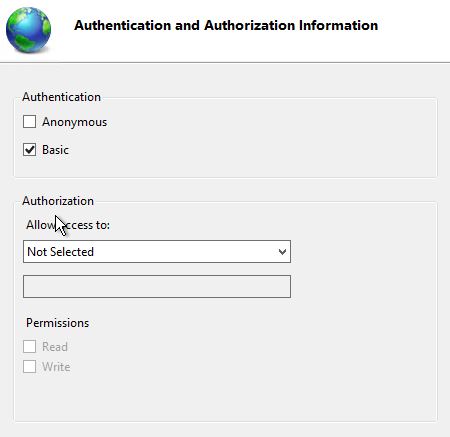
By default the new directory will be accessible to any authenticated user, to change this.
- Click the directory in the left panel
- Click “FTP Authorization Rules”
- Delete the Allow “All Users” rule
- Add a rule to allow specific users or groups.
Restart Microsoft FTP Service
Note: Restarting the service for IIS does not take on all of the settings you applied earlier. thanks to the IIS Forums for pointing this one out
